To start a coworking space, you need to do a lot of research and planning. Luckily, you can follow this guide to get your space ready for the grand opening.
Guide to starting a coworking space
What is a coworking space?
A coworking space is a shared office where people from different companies and jobs work together in the same place. Instead of working from home or renting a traditional office, they use a coworking space to have more flexibility while getting work done.
Coworking spaces started out as a great option for freelancers and small startups, but they now attract all kinds of professionals, including remote workers and big corporations. They offer a comfortable, productive environment with fast Wi-Fi, meeting rooms, desks, and on-site amenities like cafeterias.
Why should you create a coworking space?
One of the best things about running a coworking space is that there are multiple ways to make money. You can offer different membership plans, rent out private offices and meeting rooms, or even host events. On top of that, you can provide extras like printing, snacks, or workshops to increase your income. Once your space is up and running, you can expand by adding more locations or premium services.
Compared to traditional offices, coworking spaces have lower operating costs. You don’t need a large team to manage it, and you can partner with local businesses to provide better amenities at a lower cost.
A coworking space isn’t just about renting out desks—it’s about creating a community where people can work and connect. More people than ever are working remotely or freelancing, and businesses are moving away from big, expensive offices in favor of more flexible workspaces. This shift has created a growing demand for coworking spaces, making it a great business opportunity.
If you’re convinced, here’s how to start a coworking space business, step by step.

How to set up a coworking space
1. Plan your budget and expenses
Before anything else, you need to figure out the costs involved. The biggest expense will likely be renting or buying a space, followed by renovations to make it look and feel like a coworking hub. You’ll also need to invest in furniture, office equipment, and tech like high-speed Wi-Fi and booking systems.
Startup costs for a coworking space
💰 Rent & Lease: The biggest expense is usually the rent. The location and size of the space will determine the cost, so choose a place that fits your budget and attracts your ideal members.
💰 Renovation & Design: You’ll likely need to customize the space to make it functional and inviting. This can include open work areas, private offices, meeting rooms, and shared lounges, with costs depending on the level of renovation required.
💰 Furniture & Equipment: Comfortable, ergonomic furniture is a must. You’ll also need essentials like desks, chairs, printers, and possibly shared computers for members.
💰 Technology Setup: Fast and reliable Wi-Fi is crucial. You’ll also need networking hardware and software for booking and managing desks, rooms, and memberships.
💰 Initial Marketing & Branding: Spreading the word is key to getting members. Set aside a budget for a website, digital marketing, and promotional materials to build awareness and attract people to your space.
Beyond the setup costs, consider ongoing expenses like utilities, staff salaries, maintenance, and marketing. Monitor your cash flow and look for ways to save, such as negotiating better deals with vendors or using social media for low-cost marketing. Having a financial cushion for unexpected costs is also a smart move.
Ongoing costs of running a coworking space
💰 Utilities: Monthly expenses like electricity, water, heating, and air conditioning will vary based on the size of your space and how much it’s used.
💰 Staffing: You’ll need to pay salaries for key team members, such as community managers, cleaning staff, maintenance workers, and possibly IT support.
💰 Maintenance: Keeping the space clean, fixing any issues, and upgrading furniture or technology when needed ensures a great experience for members.
💰 Marketing & Advertising: To attract new members and keep your space thriving, ongoing marketing efforts—like social media, ads, and promotions—are essential.
When you create a coworking space, focus on the must-haves first. Invest in basic but comfortable furniture, a reliable Wi-Fi setup, and essential office supplies. As your membership base grows, you can upgrade to high-end furniture or additional amenities later. A coworking space financial model can help you allocate funds wisely, ensuring you don’t overspend on non-essentials early on.
If you need extra financial support, consider loans, investors, or crowdfunding. You can also form partnerships with local businesses for mutual benefits, such as offering discounts to their employees in exchange for sponsorship or services. A well-structured financial model will help you present a solid business case when seeking funding. Speaking of…
2. Write a business plan
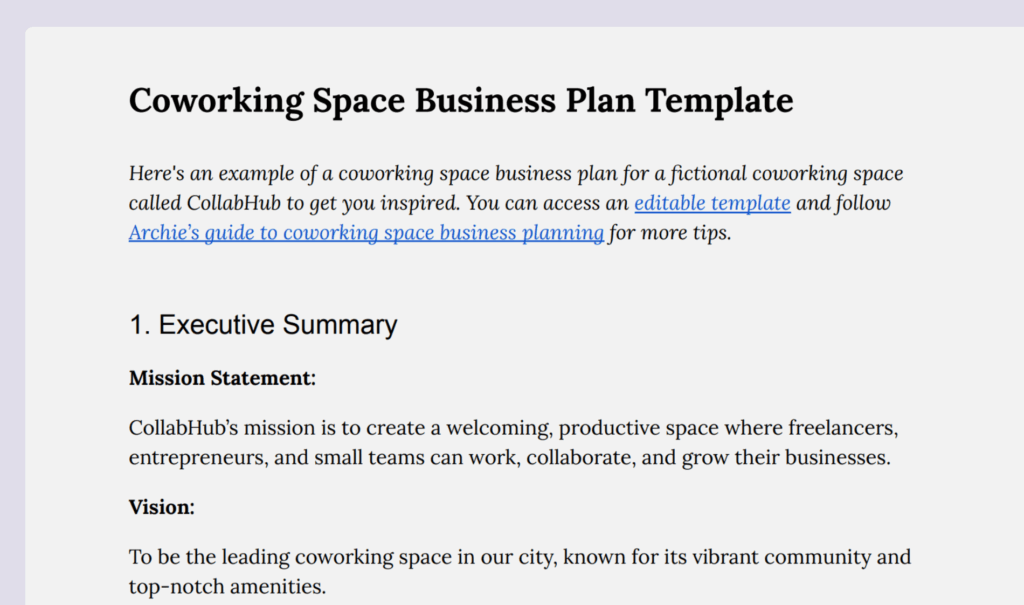
A solid coworking space business plan helps you stay on track and is crucial if you’re looking for investors or loans. Your plan should include details about your target market, revenue streams, pricing, competitors, and marketing strategies. It will act as your roadmap, helping you make informed decisions as you build your coworking space. If you’re unsure how to create one, consider using a business plan writing service for professional guidance.
3. Decide on your business model
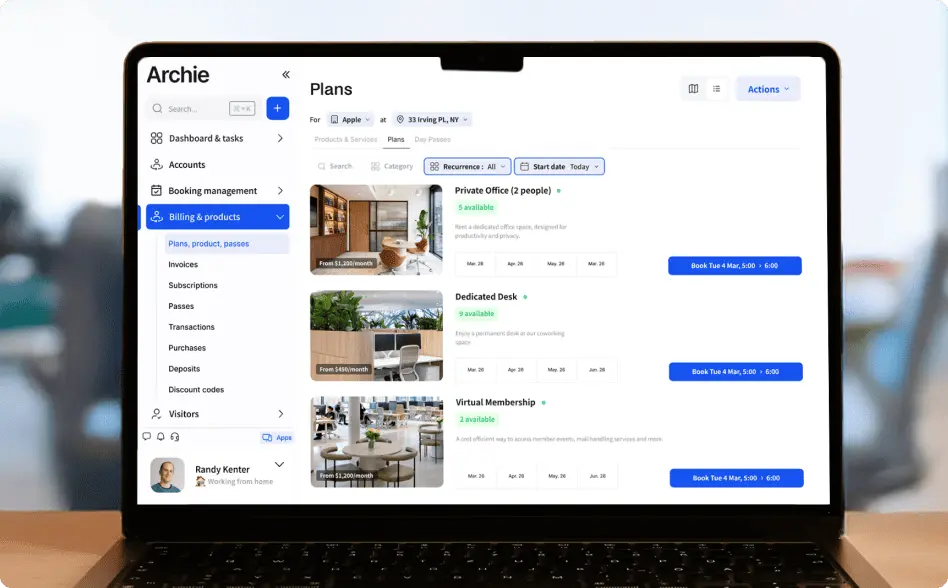
A coworking space can make money in different ways, and having multiple income streams helps keep the coworking business profitable. The main source of revenue comes from membership plans, where people pay for access to different types of workspaces. You can offer:
- Hot desks – Open seating on a first-come, first-served basis.
- Dedicated desks – Reserved desks for regular members.
- Private offices – Exclusive workspaces for individuals or teams.
- Meeting rooms – Available for rent by the hour or day.
Beyond memberships, you can rent out event spaces for workshops, networking events, or private meetings. This allows you to make the most of your space while bringing in extra income.
Coworking spaces can also offer additional services to improve the member experience and boost revenue. Printing, virtual offices, mail handling, lockers, or a small café with snacks and coffee can provide convenience while generating extra income.
When I first opened my coworking space, I focused on long-term members and office sales. After a few months, I realized that this traditional focus was limiting the number of people I could convert, and I was missing out on a large market segment that was active in my region. Not wanting to miss out on potential revenue, I decided to diversify my service offerings and target a broader audience. I saw the untapped potential of non-members and the rising demand for flexible options for room bookings and day pass users. I developed a public online signup and booking page, making it effortless for anyone to discover and access the coworking space. I also integrated self-serve automations for both bookings and day passes to cut down on the work that would be required to onboard and serve these bookings. The ease of online bookings attracted new users, significantly driving up utilization rates and diversifying revenue streams.
4. Choose the right location and space design
Picking the right location is key. Look for a spot that’s easy to access, near public transport, and surrounded by cafes, restaurants, and businesses. The size of the space should fit your budget while allowing room for growth.
Once you have the location, focus on designing a flexible and inviting workspace. A good coworking space should have a mix of open seating, private offices, meeting rooms, and communal areas where people can relax and network. Comfortable furniture, plenty of natural light, and strong Wi-Fi will make the space more attractive to potential members.
The right mix of location, design, and functionality turns a coworking space into more than just an office—it becomes a thriving hub for creativity, collaboration, and productivity.
5. Handle legal and administrative requirements
To protect your business and members, make sure you take care of legal requirements. First, register your business, get the right permits and licenses, and set up insurance to protect yourself and your members. It’s also important to have clear member agreements that outline coworking space rules, pricing, and cancellation policies.
- Register your business – Set up your coworking space as an LLC or another legal structure to protect yourself from liability and get tax benefits. You can use a registered agent service to do that for you.
- Get the necessary permits – Check your local requirements and apply for any permits or licenses you need to operate legally.
- Get insurance – Protect your business with general liability and property insurance in case of accidents or damage.
- Create membership agreements – Write clear terms and conditions that cover payment policies, workspace rules, and cancellation policies.
- Keep member data secure – Use safe and reliable systems to protect personal and payment information.
You’ll need a reliable payment system to handle memberships, bookings, and invoices. Consider using coworking management software with integrated coworking systems for payments and accounting to track finances. This way, you can focus on growing your community instead of handling paperwork. Which brings us to the next point:
6. Focus on marketing and community engagement
A successful coworking space isn’t just about desks and meeting rooms—it’s about the people who use them. To attract members and keep them engaged, focus on branding, coworking space marketing, and community building.
First, create a strong brand identity that reflects what makes your coworking space unique. Then, use social media, online ads, and local partnerships to reach potential members. Sharing stories, testimonials, and behind-the-scenes content can help showcase your space’s energy and value.
But marketing alone isn’t enough—community is what keeps members coming back. Organize events, workshops, and networking meetups to help members connect, collaborate, and grow their businesses. Online engagement matters, too. Set up a Slack group or private Facebook page, or better yet, use a coworking community app where members can interact, share resources, and stay updated on events.
When people feel like they’re part of something bigger, they’re more likely to stay, participate, and recommend your space to others. Investing in both marketing and community engagement will help your coworking space thrive.
7. Invest in coworking technology
Technology is the backbone of a well-run coworking space. From high-speed internet to smart security systems, the right tools make daily operations smoother and create a better experience for your members.
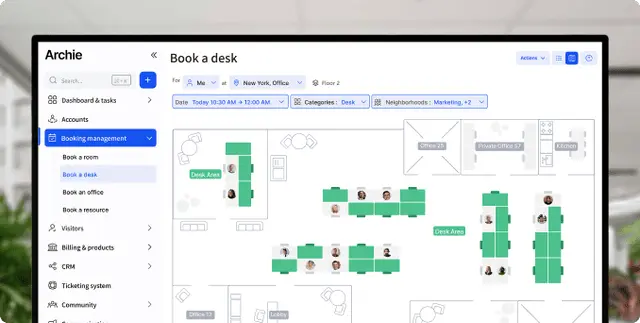
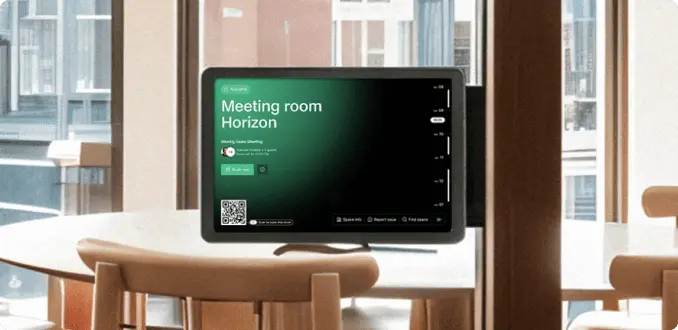
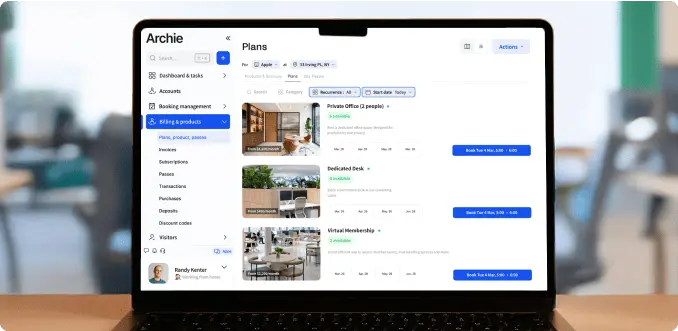
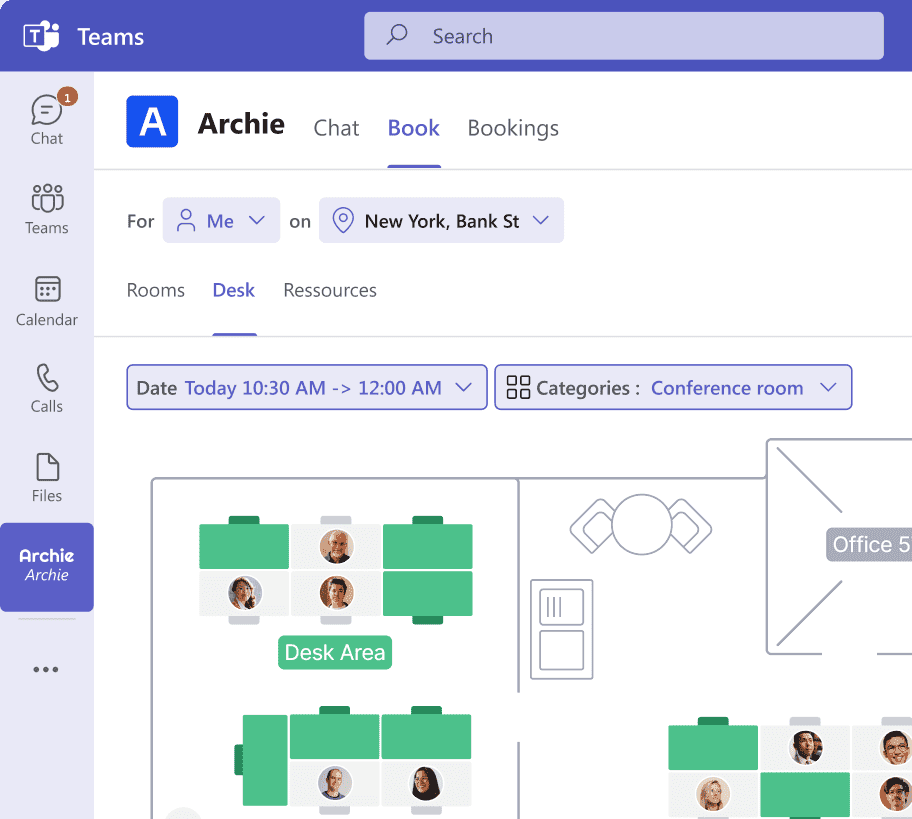
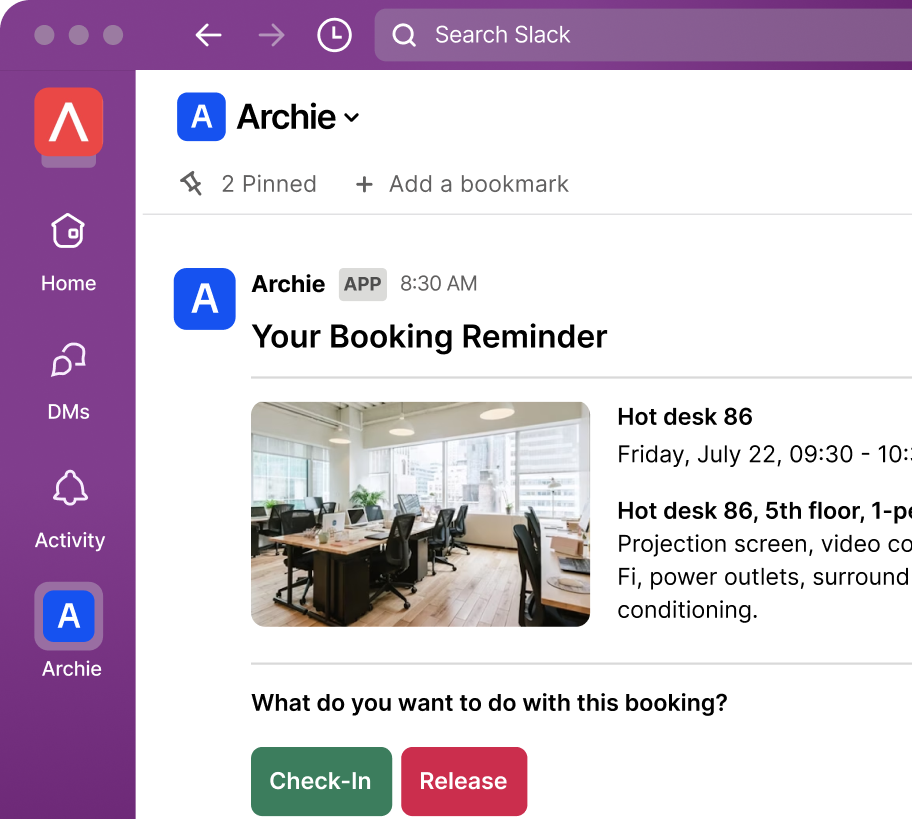
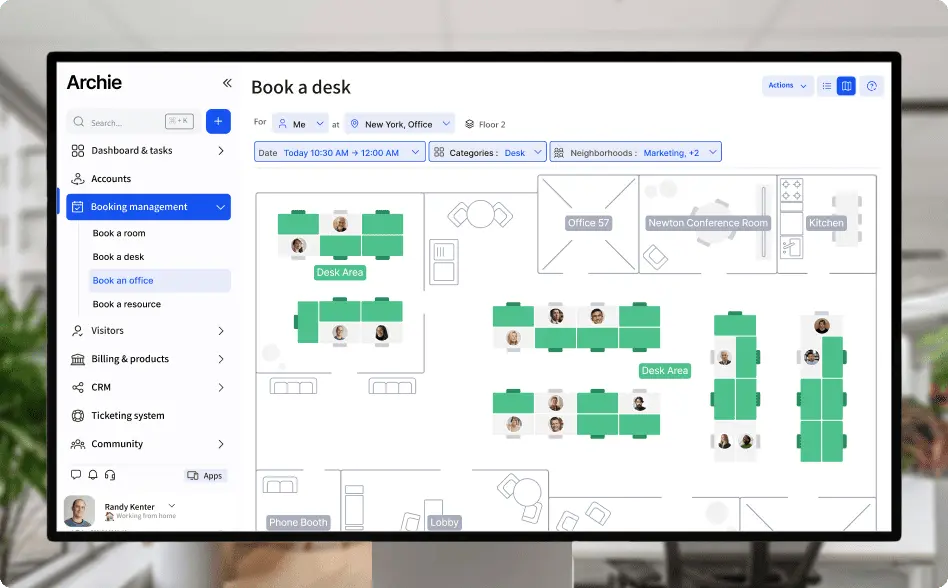
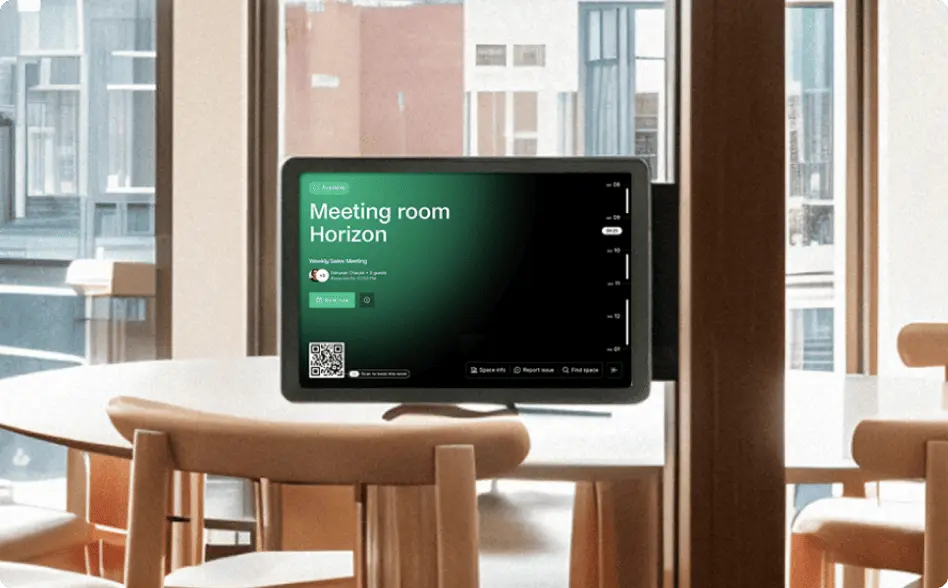
Start with strong, reliable Wi-Fi so members can work without interruptions. Use coworking space software like Archie to handle bookings, payments, and memberships automatically, reducing manual work for your team. Archie also offers a booking system that lets members reserve desks and meeting rooms and advanced analytics to help you track how your coworking space is being used.

For security, access control systems like keycards, mobile app entry, or smart locks let members enter easily while keeping the space safe. Security cameras add an extra layer of protection so everyone feels secure.
Ready to open your coworking space?
Excited to set up a coworking space? A grand opening event is a great way to spread the word and bring in your first members. Offer special discounts or free trial days so people can experience the space before committing. Make sure your Wi-Fi is fast, bookings are smooth, and your team is ready to assist members.
Once you’re up and running, focus on creating a great experience. Keep the space clean, comfortable, and well-maintained. Upgrade furniture and technology when needed, and listen to member feedback. The more people enjoy working there, the more likely they’ll stay and recommend your space to others.
How much does it cost to start a coworking space?
The cost of starting a coworking space business depends on location, size, and the features you want to offer. The coworking space cost can range from $50,000 to over $500,000 based on how big and well-equipped your space is. Let’s break it down.
Upfront costs include renting or buying a space, renovations, furniture, internet, and marketing. Rent varies by city, and you may need to remodel the space to add desks, offices, and meeting rooms. You’ll also need fast Wi-Fi, security systems, and coworking software to manage bookings and payments. To attract members, you’ll need a website, social media ads, and promotions. You can also consider running Google ads for small businesses, which can help you reach professionals actively searching for coworking spaces in your area.
- Rent or Buying a Space ($10,000 – $200,000+)
- Renovations & Interior Design ($10,000 – $100,000)
- Furniture & Office Equipment ($10,000 – $50,000)
- Tech & Internet Setup ($5,000 – $30,000)
- Marketing & Branding ($5,000 – $20,000)
Ongoing costs of running a coworking space include monthly rent, utilities, staff salaries, maintenance, and advertising. Renting a space can cost $3,000 to $30,000 per month, and you’ll need to cover electricity, cleaning, and staff to keep things running smoothly. Regular marketing helps bring in new members and keep the space full.
- Rent or Mortgage ($3,000 – $30,000/month)
- Utilities (Electricity, Water, Internet, Heating & Cooling) ($1,000 – $5,000/month)
- Staff (Community Manager, Cleaning, Security) ($5,000 – $15,000/month)
- Maintenance & Repairs ($500 – $3,000/month)
- Marketing & Advertising ($1,000 – $5,000/month)
To sum up, starting a small coworking space can cost $50,000, while a larger space can cost over $500,000:
💰 Small coworking space (1,000 – 3,000 sq ft) → $50,000 – $150,000
💰 Medium-sized coworking space (3,000 – 10,000 sq ft) → $150,000 – $300,000
💰 Large coworking space (10,000+ sq ft) → $300,000 – $500,000+
Starting a coworking space isn’t cheap, but planning wisely and managing your budget well can be a great business. With more people working remotely and looking for flexible offices, a coworking space business can be a profitable and rewarding investment.
Starting a coworking business — FAQ
Starting a coworking space business takes some planning, but it can be a great business if done right. First, decide who your space is for and what membership options you’ll offer. Choose a location that’s easy to access, then set it up with comfy furniture, fast Wi-Fi, and smart tools for bookings and security. Make sure you have the right permits and insurance, then spread the word through a website, social media, and local connections. Once open, keep things running smoothly by maintaining the space and hosting events to bring members together.
To set up a coworking space, you need a great location, a comfortable layout, and the right amenities. Find a space that’s easy to access and big enough for desks, meeting rooms, and shared areas. Set it up with comfy furniture, fast Wi-Fi, and coworking software to manage bookings and payments. Don’t forget the necessary permits, insurance, and a marketing plan to attract members and grow your community.
Some of the best coworking spaces that have done really well include WeWork, which has locations all over the world with flexible offices. Impact Hub focuses on social entrepreneurs and community-driven workspaces. Industrious offers a more high-end experience with great hospitality. The Wing is designed specifically for women professionals, helping them connect and collaborate. Spaces and Regus provide flexible office options for everyone, from freelancers to big companies.

Berenika Teter
Archie's Content Manager, fueled by filter coffee and a love for remote work. When she’s not writing about coworking spaces and hybrid workplaces, you can probably find her exploring one.







![How To Start a Coworking Space: Costs and Plan [2026 Guide] A modern coworking space with white desks, ergonomic chairs, and laptops.](https://archieapp.co/blog/wp-content/uploads/2023/11/Screen-Shot-2023-11-30-at-9.33.09-AM.png)


![38 Top Coworking Conferences and Events of 2026 [Confirmed] Top coworking conferences - cover image.](https://archieapp.co/blog/wp-content/uploads/2023/10/coworking-400x400.jpeg)
